
Last updated November 15, 2026
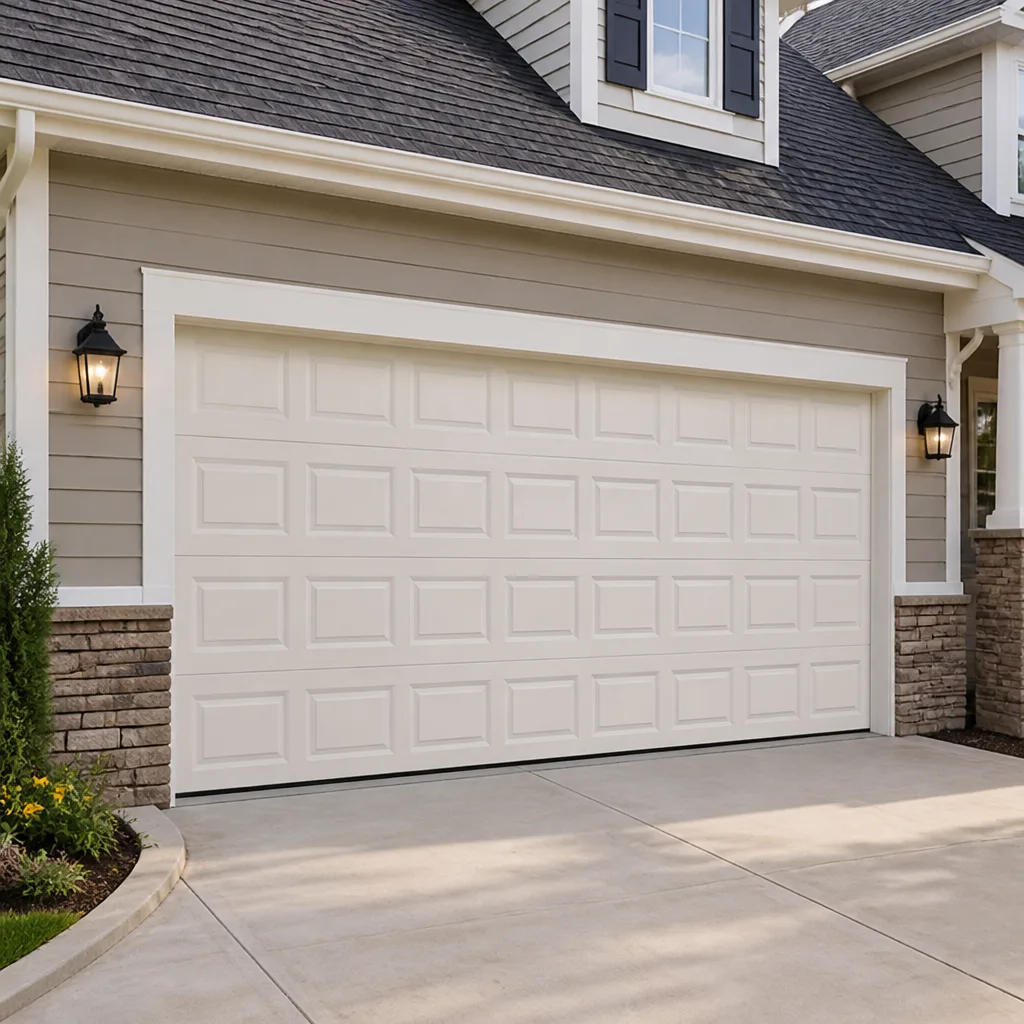 Raised-panel steel
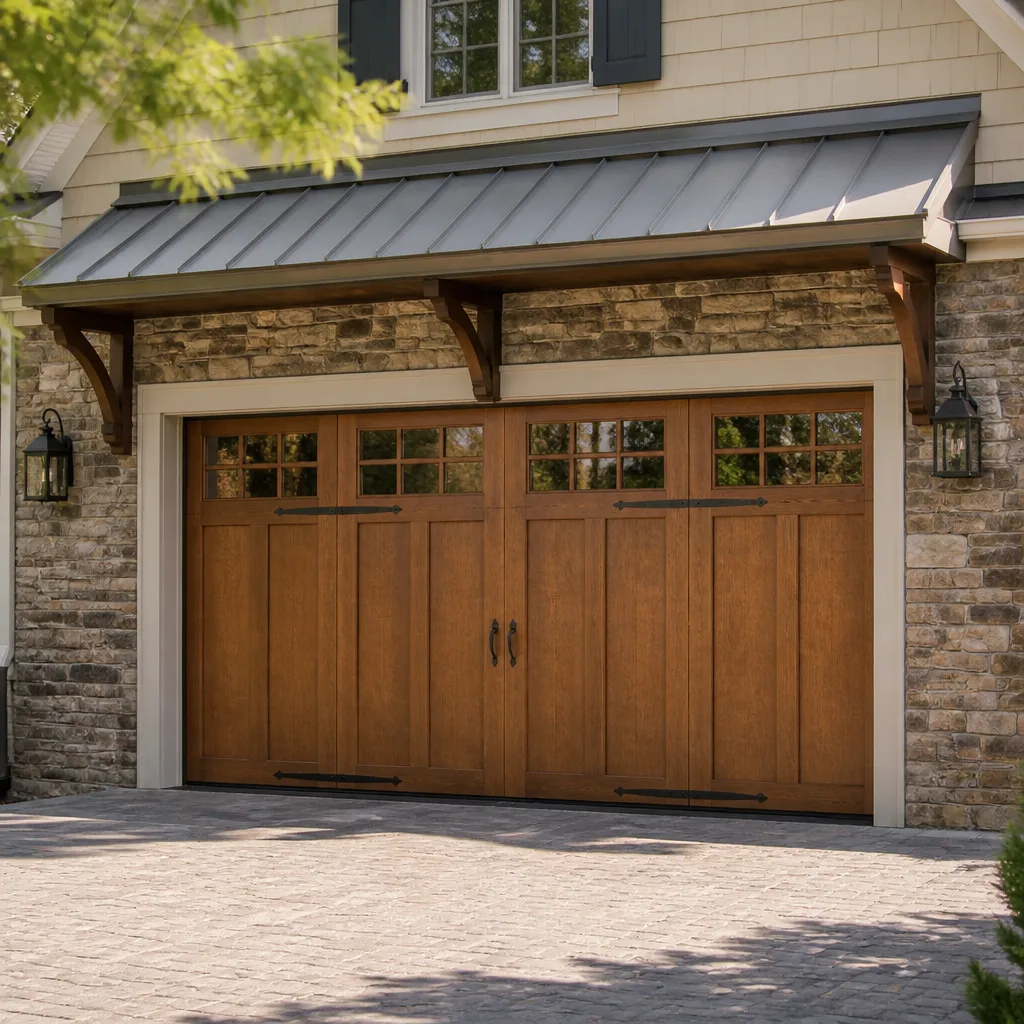 Carriage house
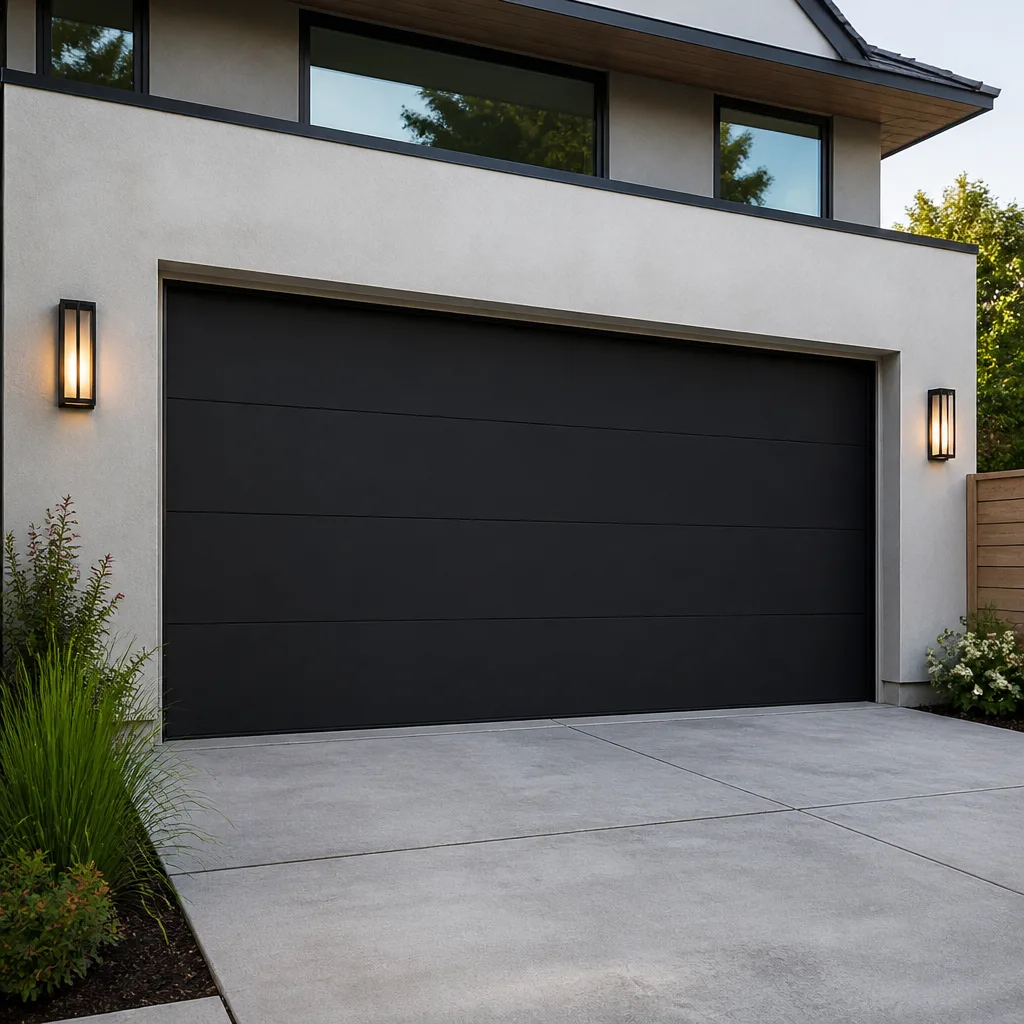 Modern flush
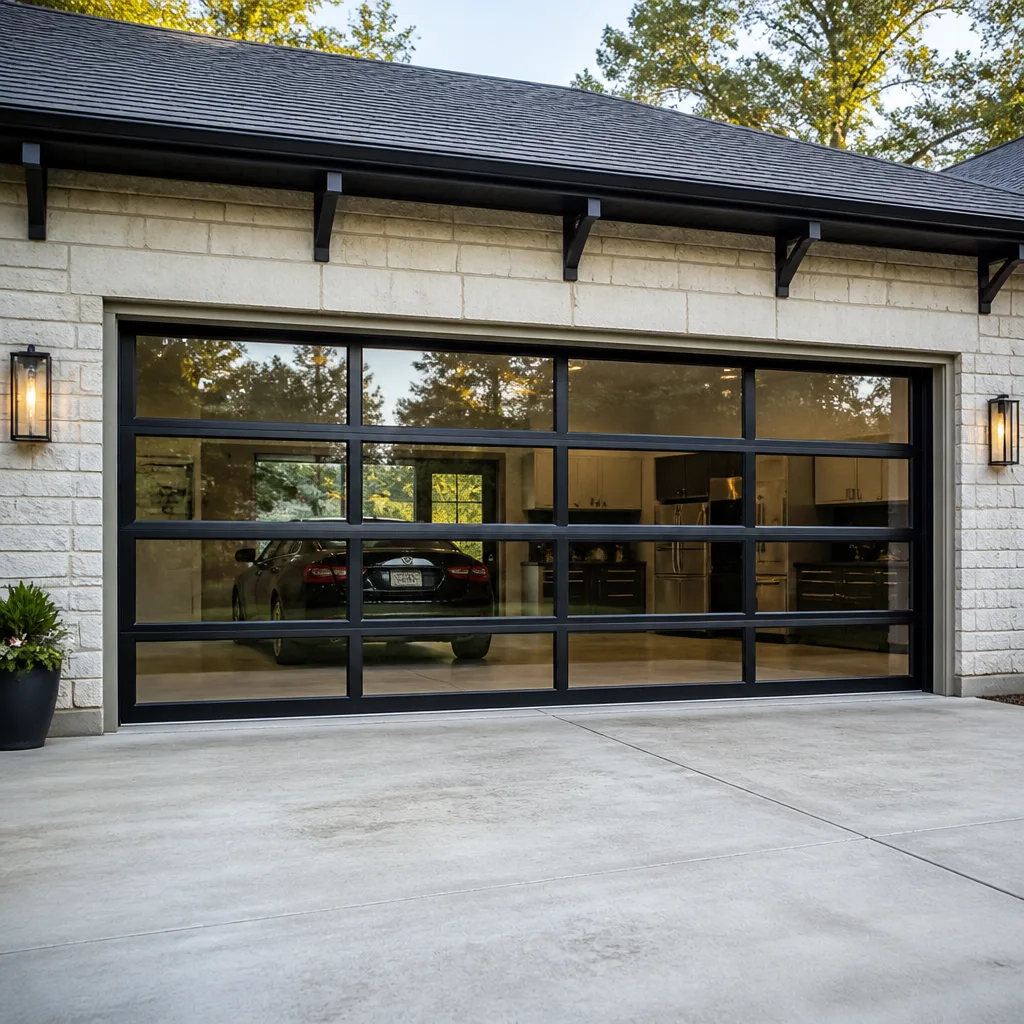 Full-view glass
 LiftMaster openers
 Chamberlain openers
Full 25-point door and opener safety check with every visit - springs, cables, rollers, tracks, and your LiftMaster or Chamberlain opener included
You get a price before we start. It does not change when the pro arrives.
Get your free estimateGarage Door Repair Maintenance Checklist for Stockton Homeowners
Every garage door maintenance checklist says “lubricate the springs.” Almost none of them tell you that if your springs are already starting to gap or show rust, lubricant is just slowing down an inevitable break – and a broken spring in a Stockton summer can trap your car inside when you need it most. That’s the gap this guide fills. Instead of a list of tasks you can find anywhere, we pair each maintenance item with the failure signature it’s meant to catch, so you know what a problem actually looks like before it becomes a repair bill. You’ll get Stockton-specific timing, a triage system for what to touch and what to leave alone, and clear signals for when to stop and call.
Quick Answer
A useful garage door maintenance checklist for Stockton pairs each task with a visible warning sign to watch for, and separates what you can safely do yourself (lubricating, cleaning, testing) from what belongs in a technician’s hands (springs, cables, tension). Check your door twice a year, timed to late spring and early fall, when Central Valley temperature swings are hardest on weatherstripping, rollers and springs. If you hear popping, see gapping springs or a fraying cable, stop using the door and get it looked at.
Styles & brands we work with
- Raised-panel steel
- Carriage house
- Modern flush
- Full-view glass
- LiftMaster openers
- Chamberlain openers
Table of Contents
- Why a Checklist Alone Isn’t Enough
- When to Do Garage Door Maintenance in Stockton
- The Failure Signatures: What to Look For
- How to Test Balance, Travel and Auto-Reverse Safely
- Parts That Wear Faster in the Central Valley Heat
- Your Triage System: Maintain, Monitor, Never Touch
- Opener Maintenance Most Checklists Skip
- Common Mistakes to Avoid
- When to Call a Professional
- Frequently Asked Questions
Why a Checklist Alone Isn’t Enough
A checklist tells you what to do. It rarely tells you what you’re looking for. That distinction matters because the real skill in garage door upkeep isn’t remembering to lubricate – it’s recognizing the condition that lubricant won’t fix. A spring that’s already showing a visible gap is past the point where oil helps. A cable with a few stray strands is past the point where tightening helps. Knowing the difference is what keeps a small maintenance task from turning into a repair call.
In our experience working on doors across Stockton, the homeowners who spend the least on garage door work aren’t the ones who do the most. They’re the ones who notice a problem early, understand what they’re seeing, and know which jobs are safe to handle and which aren’t. That’s the mindset this guide is built to teach.
Two things to hold onto from the start. First, modern doors are a system: the door panel, springs, cables, tracks, rollers, hinges, weatherstripping and opener all work together, and a problem in one shows up as strain in another. Second, some parts are genuinely dangerous to work on. High-tension springs and wound cables store enormous force. We’ll tell you plainly where the line is.
When to Do Garage Door Maintenance in Stockton
Twice a year is the general rule, but the timing matters more in Stockton than the count. The two windows that pay off most are late spring and early fall. Here’s why.
Stockton summers are long and hot. Heat does two things to a garage door. It softens and shrinks weatherstripping, and a closed garage behind a west-facing door can get very warm by midafternoon. Metal expands. Lubricant thins. A door that ran quietly in April may start groaning in July. Getting ahead of that with a late-spring check means moving into the hot months with clean rollers and a well-lubed mechanism.
The early-fall check catches the other direction. As temperatures drop into autumn and the swings between warm days and cool nights widen, materials contract. Weatherstripping that swelled in summer can crack. Springs under constant tension can go brittle. A check in early fall gives you a clean read heading into the cooler months, before the first real cold snap tests everything at once.
Two checks at those windows is a reasonable baseline. Doors facing west or south, doors on an uninsulated garage, and doors that get opened and closed many times a day may benefit from a quick monthly eye-check in between. A monthly check is just a look: listen, watch, and carry a rag and a can of lubricant. It doesn’t need to be a full service.
One more local timing note. The rainy stretches Stockton gets in winter don’t damage the door themselves, but moisture under the bottom seal will start to lift the paint where the panel meets the floor if the seal is cracked. Autumn is the right time to replace a worn bottom seal, before that moisture has a whole season to work on the steel.
The Failure Signatures: What to Look For
Here’s the part most checklists leave out. For every task, there’s a matching failure signature: a specific thing you can see or hear that tells you what’s actually going on. Read these as your field guide.
Springs
The task is to look, not to touch. What you’re looking for is a gap of a quarter inch or more in the coil of either spring. A broken torsion spring often doesn’t fall – it sits there with a clean gap where the coil used to be continuous. Rust is the other signature. Surface rust is a slow warning; heavy corrosion that pits the coil is a sign the spring is on its way out. Extension springs, used on some older doors, look different: watch for a stretched or unevenly wound spring, and for rust or fraying at the ends where they hook in. Two safety cables should run through extended extension springs as a fail-safe; if yours don’t, that’s a conversation to have with a technician.
If you see any of these, stop using the door. Springs are the highest-tension part on the whole assembly, and a spring that’s about to let go can do it at any moment.
Cables
Look at the cables running down each side. A healthy cable is straight, evenly wound, and silver-clean. A fraying cable looks like a rope with stray fibers sticking out – small loops or strands standing away from the bundle. Rust runs the same signature as a frayed cable, just red instead of silver. A cable that’s off its drum or wrapped unevenly is another clear stop signal. Cables under tension that let go can cause serious injury, so “check the cables” always means “look at the cables,” never “adjust the cables.”
Rollers and Hinges
The task is to lubricate, and the signature is what you notice before you do. Flat spots, cracks or wobble on a roller mean it’s worn out – oil won’t fix a cracked nylon wheel. Metal rollers that squeal or grind are telling you their bearings are dry. Hinges showing rust at the pin, or a hinge that’s visibly bent, point to stress that needs a fresh part rather than more grease. Rollers and hinges are on the safe list for home inspection but part replacement is best done by a tech who can spot knock-on wear in the track.
Weatherstripping and Bottom Seal
Run a hand along the bottom seal with the door closed. It should meet the floor with light, even contact along its full length. A seal that’s cracked, hard, or crumbly is letting in air, water and pests. A seal with gaps at the corners or a visible line of daylight says it’s time to replace it, which is one of the few check-and-fix jobs most homeowners can do themselves.
Tracks
Tracks should be straight and parallel. The signature to watch for is a dent or kink, usually from a bumper or an object knocking the vertical track. Even a small bend changes how the rollers travel and can throw the door off balance. Don’t force a bent track back by eye – a technician can realign it accurately, and if you’ve already noticed the door dragging on one side, have it looked at before the strain spreads.
How to Test Balance, Travel and Auto-Reverse Safely
These three tests are the heart of a do-it-yourself safety check, and you can run all three with no tools. The trick is knowing what result means you should stop. Do these with the door closed and nothing in the way, and always keep hands well away from the springs, cables and hinges while the door moves.
Balance Test
- Close the door, then pull the red release handle to disconnect the opener. You’re moving the door by hand from here.
- Raise the door about halfway and let go.
- A properly balanced door stays put or drifts only slightly. A door that slams down or shoots up tells you the springs are out of balance with the door’s weight.
If the door comes down with real speed or needs heavy effort to lift, stop. A door that’s heavy going up means the springs aren’t doing their job, and springs are the one part you should never try to adjust yourself. Leave the door disconnected, call a technician, and don’t force it.
Travel Limits Test
- Reconnect the opener and close the door fully.
- Open it all the way with the remote or wall control. It should stop smoothly at the top without straining – the motor shouldn’t sound like it’s still pulling after the door is up.
- Close it all the way. It should sit flush on the floor without the motor pushing after it lands.
If the door stops short, reverses before closing, or the opener grinds at the end of travel, the limits need adjusting. On many openers this is a small setting on the unit. If adjusting it doesn’t fix the behavior, that’s a signal for opener repair rather than a do-it-yourself project – worn gears or a failing limit switch won’t respond to a setting change.
Auto-Reverse Test
With the door open, place a roll of paper towels flat on the floor in the door’s path. Close the door with the remote. The door should reverse when it contacts the roll, without crushing it. Also test the safety sensors at the base of the tracks: wave a hand across the beam while the door is closing. It should reverse immediately. If it doesn’t, treat the door as unsafe until a technician has checked the opener.
Parts That Wear Faster in the Central Valley Heat
National maintenance averages are written for a moderate climate. Stockton isn’t that. Long hot summers and wide day-night swings shorten the life of some parts more than the standard advice assumes. Here’s where local conditions hit hardest.
- Weatherstripping and bottom seals. Heat makes rubber and vinyl brittle. UV from a west-facing door accelerates it. A bottom seal that would last years in a milder climate may need replacing more often here, and it’s the cheapest part to stay ahead of.
- Nylon rollers. Nylon lasts longer than metal in most ways, but sustained heat softens it and flat spots develop where the door sits closed on hot afternoons. Inspect them at each seasonal check; replace as a set when you find flats or cracks.
- Painted steel panels. The paint that protects the steel is a coating, and heat plus dry air causes it to chalk and eventually crack. Once bare steel shows, rust starts. A touch-up at the first sign of paint damage is far cheaper than panel replacement.
- Lubricant. Heat thins grease, so the parts you lubricate in spring may need a light touch again by mid-summer. Use a lubricant rated for garage doors and avoid over-applying – excess attracts dust.
- Opener motors. Motors work harder when doors are heavier in heat, and a garage that gets very warm stresses the drive gears. A quieter, less strained motor is a sign you’re on top of the mechanical side.
Brand doesn’t change the climate math. Whether the door is a Wayne Dalton or a Raynor, the weatherstripping is still rubber and the paint is still paint. What brand familiarity does buy you is knowing which parts are wear items and where to get the right replacements.
See the difference
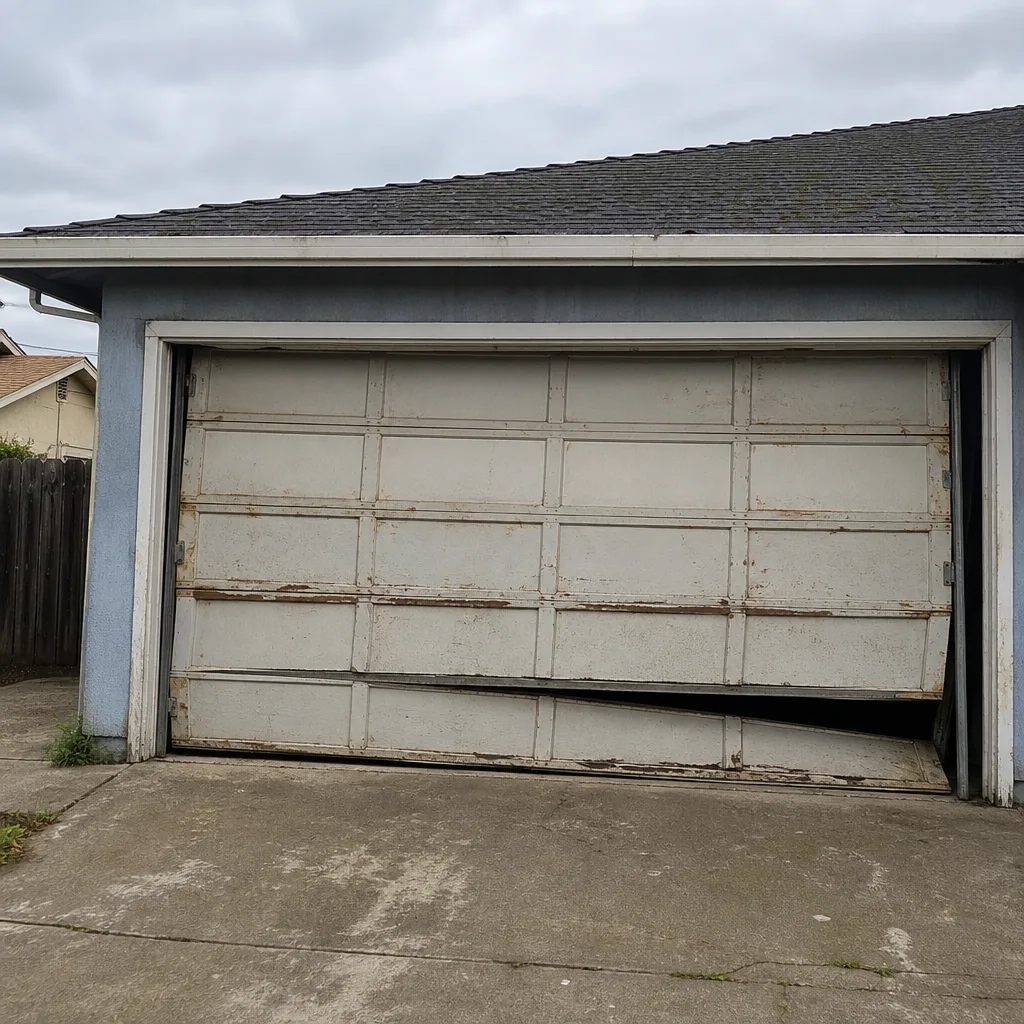 Before
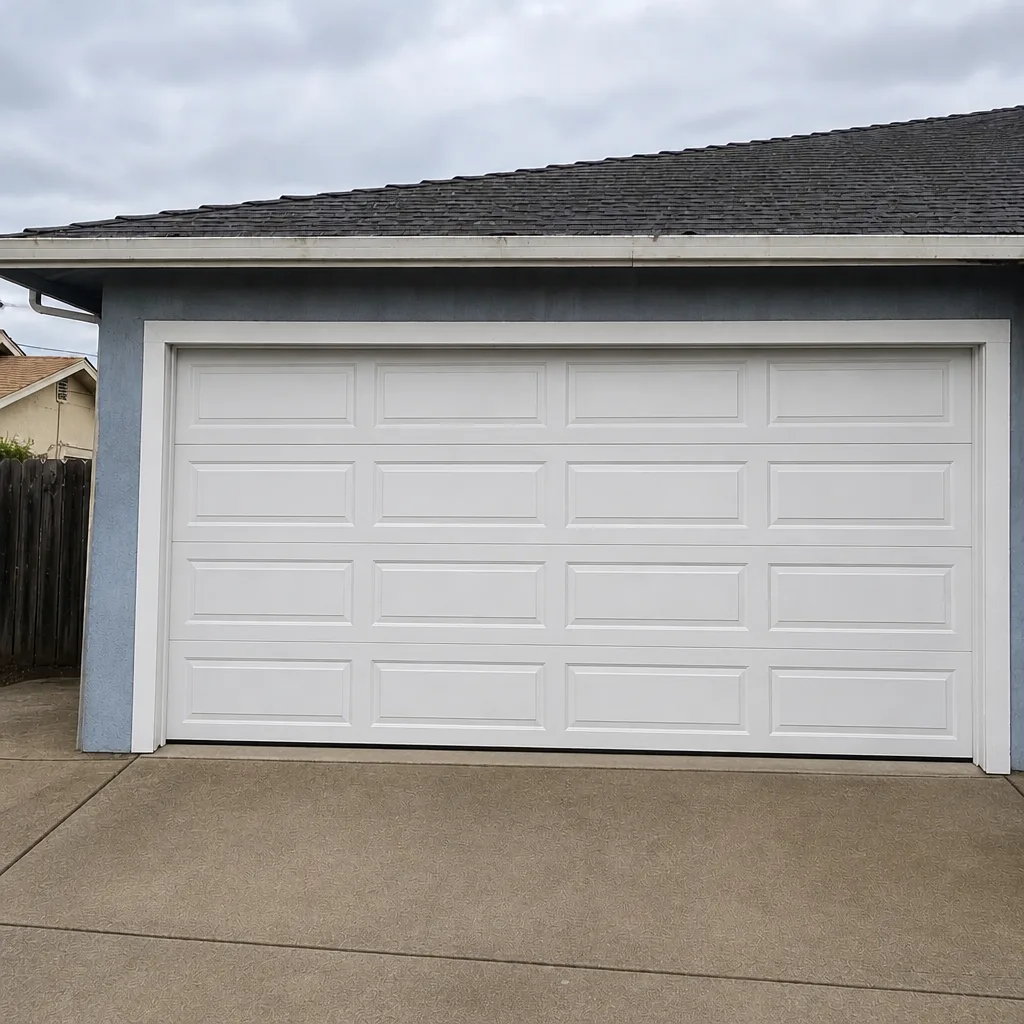 After
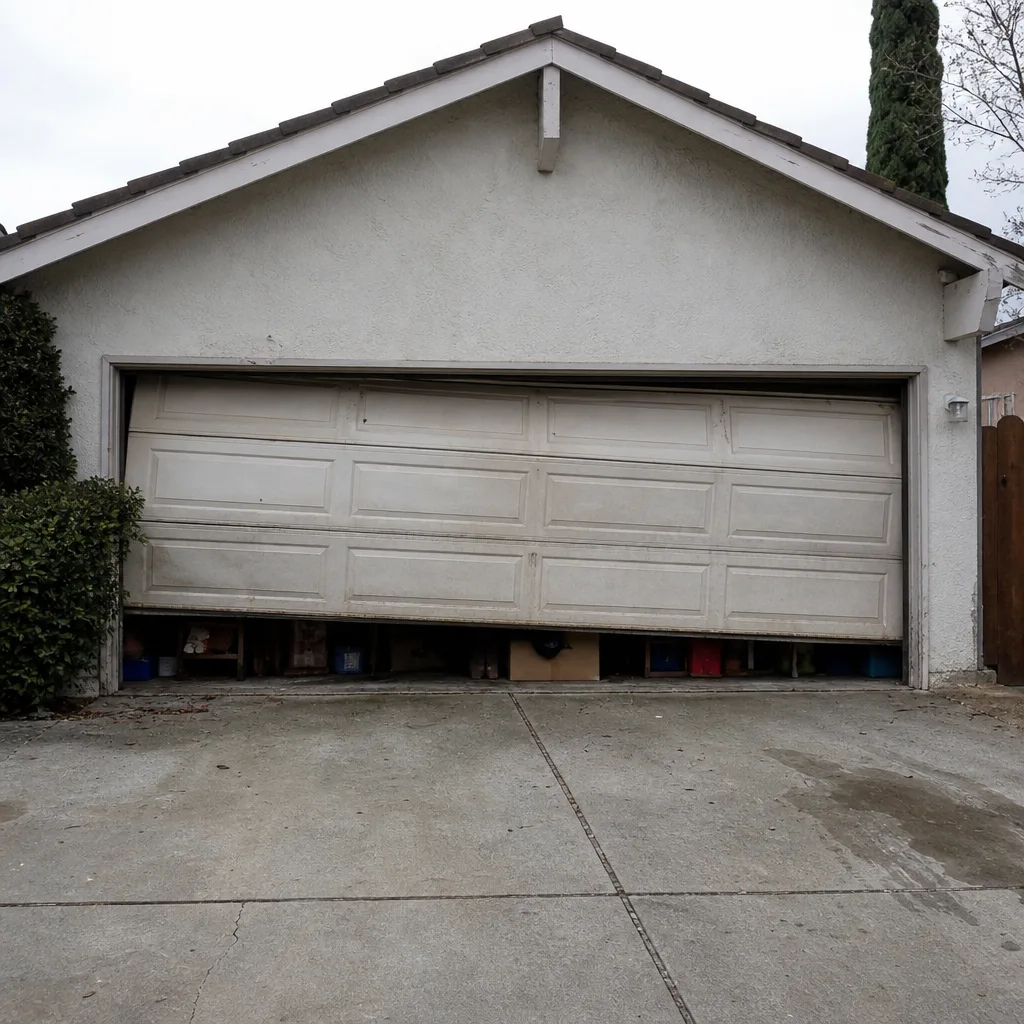 Before
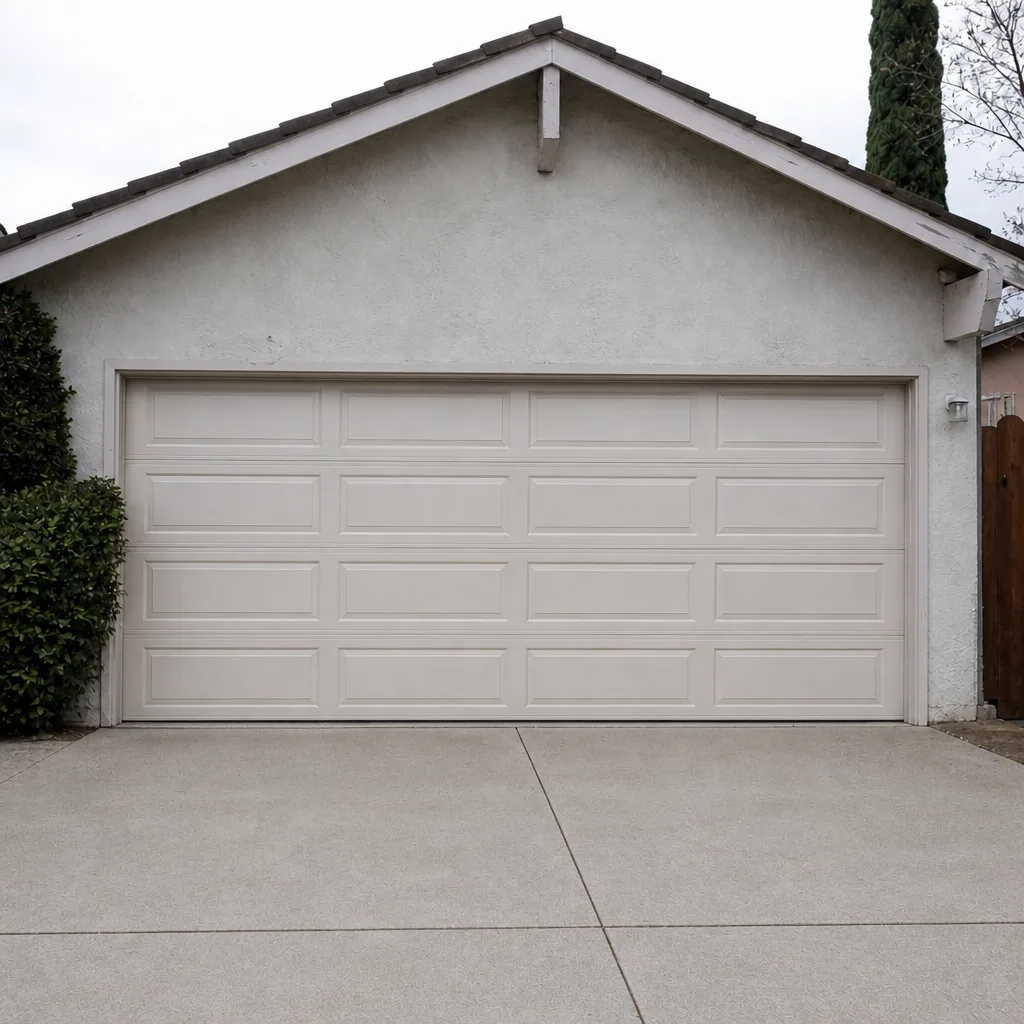 After
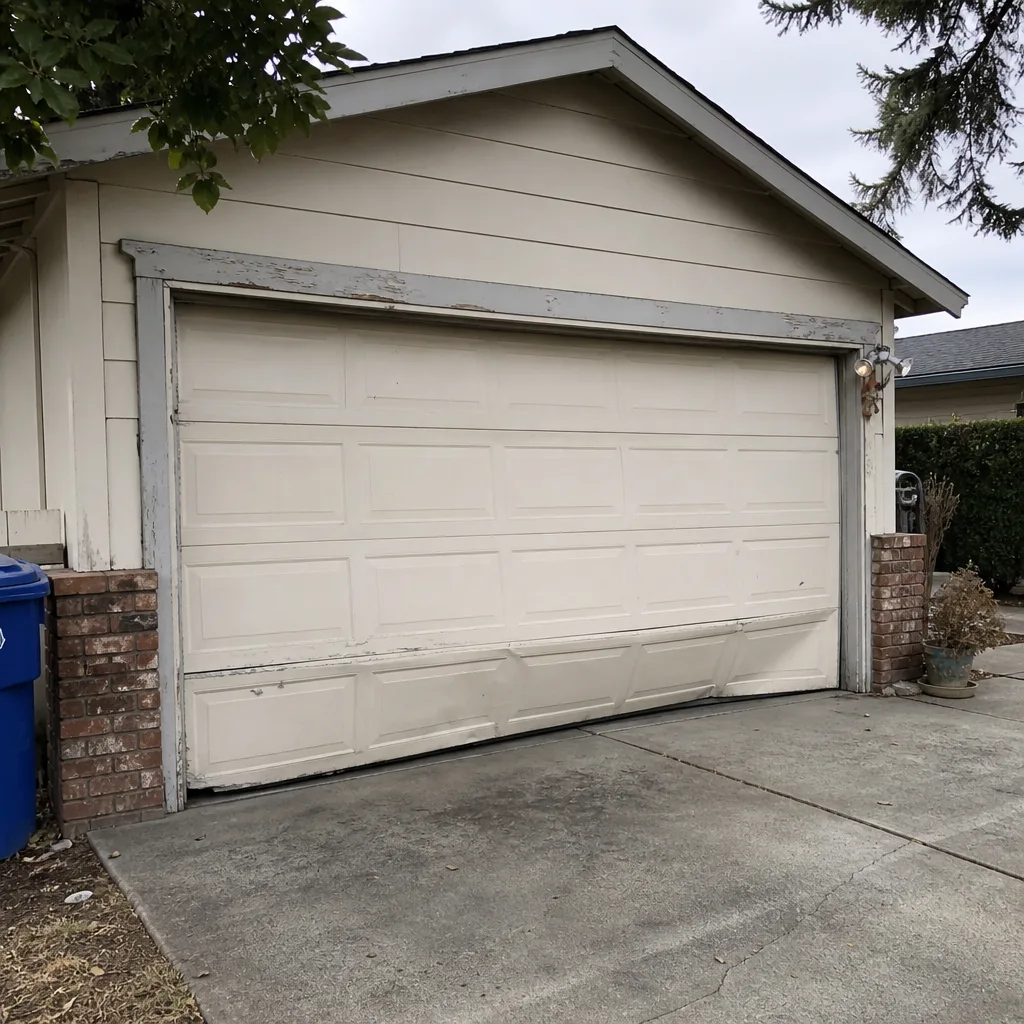 Before
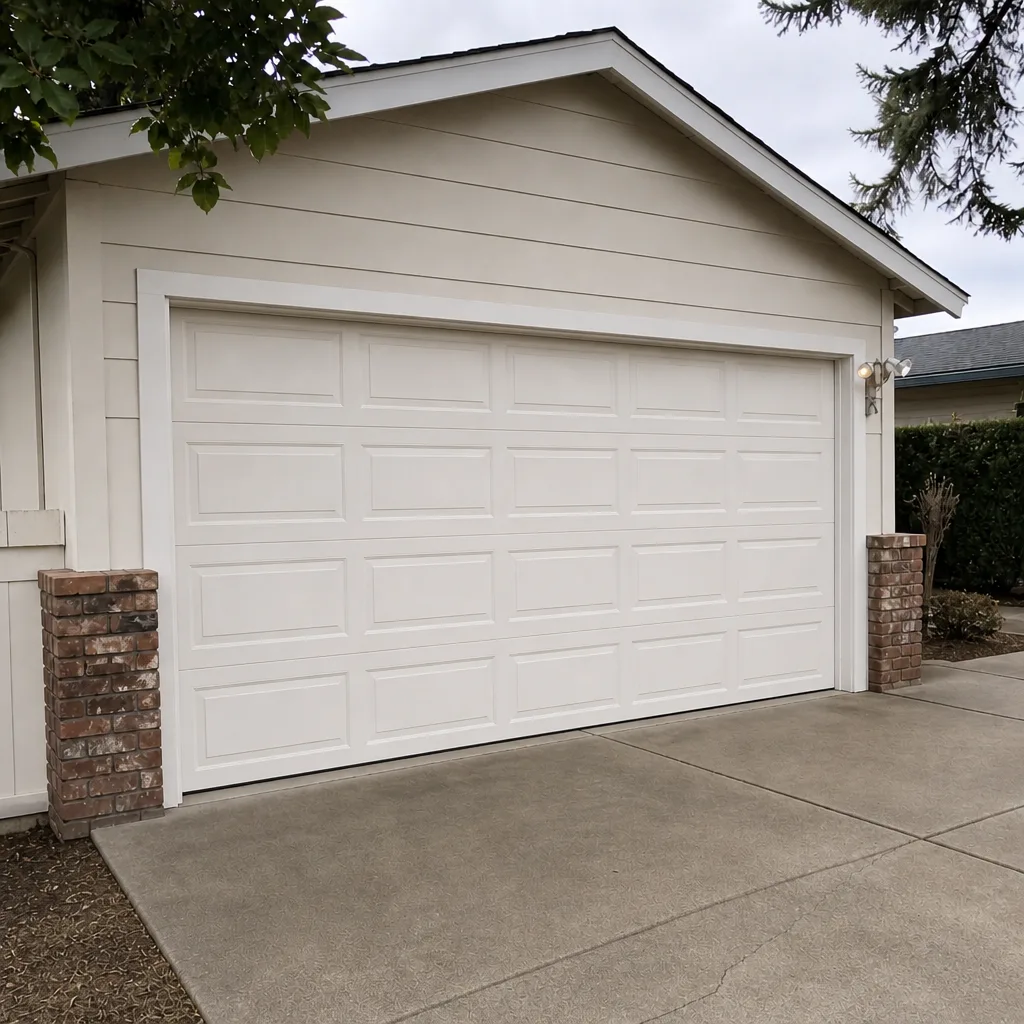 After
Your Triage System: Maintain, Monitor, Never Touch
The most useful thing a checklist can do is tell you what not to do. Sort every task into three lanes and you’ll never wonder whether you should be doing more.
Lane 1: Maintain Yourself
These are safe, low-risk tasks that protect the door and cost nothing but a few minutes.
- Lubricate hinges, rollers, and the torsion bar bearings with a garage-door-rated lubricant. Wipe off excess.
- Clean and touch up paint on panels at the first sign of chalking or chips.
- Wipe down weatherstripping and inspect the bottom seal for cracks.
- Clear leaves and debris from the tracks and the garage floor where the door meets the ground.
- Run the balance, travel and auto-reverse tests. Look at springs and cables. Don’t touch them.
Lane 2: Monitor and Report
These are conditions to keep an eye on and mention to a technician rather than fix yourself.
- A spring showing rust or starting to gap
- A cable with a few stray strands
- A roller with a flat spot or a hinge with play in it
- A door that drifts on the balance test or needs a little help to close
- An opener that sounds strained, or reverses when it shouldn’t
Lane 3: Never Touch
These parts store serious energy or carry electrical current. Leave them to a trained technician.
- Torsion springs and the torsion bar. These hold enough force to cause injury if adjusted without the right tools and knowledge.
- Extension springs and their safety cables.
- Cables under tension, and any cable you’d need to rewind or reattach.
- The opener’s internal electronics or the high-voltage wiring to any opener.
- The track’s mechanical alignment, if it’s been bent.
If you’re ever unsure which lane a job belongs in, treat it as Lane 3. A garage door repair visit to check is cheaper than a job that goes wrong.
Opener Maintenance Most Checklists Skip
Most maintenance guides spend all their time on the door and forget the machine that runs it. Your opener is electronics bolted to a mechanical system, and it needs its own attention.
The single most useful thing you can do is listen. A healthy opener runs at a steady pitch from start to finish. A grinding sound at the end of travel, a chattering motor, or a door that stops and reverses for no apparent reason are all signals worth acting on early. Since Marigold covers both the door and the garage door opener repair, a technician can trace whether a symptom is the door, the opener, or the interaction between them – which is where a lot of “mystery” problems actually live.
A few safe things a homeowner can do without opening the unit: test the wall control and the safety sensors, check that the opener’s power cord is securely plugged and the outlet is working, and make sure nothing has been stored leaning against the door or track where it can catch the door mid-travel. If your opener has a battery backup, a monthly test of that function is worth doing so you know the door still runs during a power cut.
Rebranding doesn’t change the maintenance math either. Whether you have a Craftsman opener or a LiftMaster, the things that wear are the drive gear, the travel limits and the sensors. Brand-familiar service means the technician already knows where those parts live on your unit.
Finally, pay attention to the tension between door and opener. An auto-reverse setting that triggers too easily is sometimes an opener problem and sometimes a door that’s gotten heavier. Telling a technician “the door reverses for no reason” saves a diagnostic step. The more precisely you can describe the failure signature – whether it reverses at the same spot every time, or only when it’s cold – the faster it gets sorted.
Common Mistakes to Avoid
- Lubricating a spring that’s already broken or rusted through. Oil is for moving parts, not a substitute for a spring replacement. If you see a gap, stop lubricating and start calling.
- Using WD-40 or cooking oil on rollers and hinges. A garage-door-rated lubricant is a different product. Household spray oil thins quickly and attracts dust; it does more harm than good.
- Adjusting the travel limits after every odd noise. If the door misbehaves repeatedly, adjusting the setting again masks the real cause. A grinding end-of-travel signal points at worn parts, not settings.
- Forcing a heavy door by hand. If the balance test shows a door that takes real effort to lift, you’re straining springs that are already under load. Stop and book a check.
- Skipping the fall check because the door “still works.” A door that runs quietly in October can still have a cracked bottom seal or a roller ready to fail. Visual inspection matters more than whether the door moves.
- Pushing a bent track back by eye. A track that’s been knocked slightly out of parallel changes how every roller travels. Forcing it back can put pressure on the wrong side of the door.
- Choosing a part by price alone. A cheap roller or a mismatched spring can shorten the life of every other component. A brand-agnostic technician will recommend the right part for your door, not the most convenient one.
When to Call a Professional
You should call a professional for anything involving springs, cables, the opener’s internal electronics, or a door that’s off its track. Those jobs carry real risk or need tools and calibration you don’t have at home. Call sooner rather than later if you hear a loud pop from the garage, see daylight around the bottom seal that wasn’t there before, notice the door drifting on the balance test, or the door reverses for no obvious reason.
We can also save you a visit. If your checklist turns up wear items rather than danger – a worn bottom seal, a tired roller, a chalking panel – you can handle those yourself and keep a technician’s visit for the jobs that need one. When it’s time, Marigold Garage Door Repair offers free estimates in Stockton. Call (877) 405-9570. We answer 24/7. Fast dispatch from 7am to 7pm, Sunday through Friday. Every price is set before any work starts, in writing.
Frequently Asked Questions
Twice a year, ideally in late spring and early fall, is the right cadence for Stockton. Those windows line up with the temperature swings that stress weatherstripping, rollers and springs most. A brief monthly look in between – listen, watch, and wipe down moving parts – keeps you ahead of small problems.
Yes, on the safe parts: hinges, rollers and the torsion bar bearings. Use a lubricant meant for garage doors and wipe off excess so it doesn’t collect dust. Never lubricate or touch the springs or cables themselves. Those hold too much stored energy to work on without proper tools.
A broken torsion spring usually shows a gap of a quarter inch or more in the coil, though the spring often doesn’t fall. Extension springs look for a stretched or unevenly wound coil and rust at the ends. If you see either, stop using the door and call a technician. Call (877) 405-9570 for an exact assessment – estimates are free.
Two things happen in Stockton heat: lubricant thins, and in a warm garage the metal expands slightly while the springs change tension. A door that suddenly feels heavy or won’t stay put on the balance test is telling you the springs aren’t matching the door’s weight. That’s a job for a technician, not a lubricant.
The auto-reverse test. A door that won’t reverse when it meets an obstacle is a safety problem every time. Wave a hand across the safety sensors while the door closes – it should reverse immediately. If it doesn’t, treat the door as unsafe until a technician diagnoses the opener.
Not for the tasks themselves – springs, rollers, seals and paint maintenance follow the same logic whatever the brand. What brand familiarity changes is knowing which parts are wear items on your door and where to get the right replacements. Whether yours is an Amarr or a Craftsman, that’s what we work from.
Yes, for most homeowners. The bottom seal is one of the few parts that’s both a check and a fix. Slide the old one out, measure the width, and install the replacement per its instructions. It’s a low-risk task and one of the best value-per-dollar jobs on the whole door in a hot climate.
It can, in the sense that catching a worn part early is usually cheaper than replacing it plus what it damaged. A cracked bottom seal that isn’t replaced can let moisture lift the paint at the floor edge; a flat-spotted roller can wear a track. Staying ahead of wear items keeps the strain off the expensive parts.
The Bottom Line
A maintenance checklist is only useful if it tells you what to look for. In Stockton, that means checking twice a year – late spring and early fall – paired with monthly eye-checks in between, and reading your door’s failure signatures with the tasks. Keep the safe jobs yourself, report the wear signs to a technician, and never touch springs, cables or opener electronics. The result is a quieter, safer door and a much lower chance of a surprise repair bill. Marigold Garage Door Repair handles the door and the opener together, so nothing falls through the cracks. Call (877) 405-9570 for a free estimate. We answer 24/7, with fast dispatch from 7am to 7pm, Sunday through Friday.
Written by the team at Marigold Garage Door Repair.